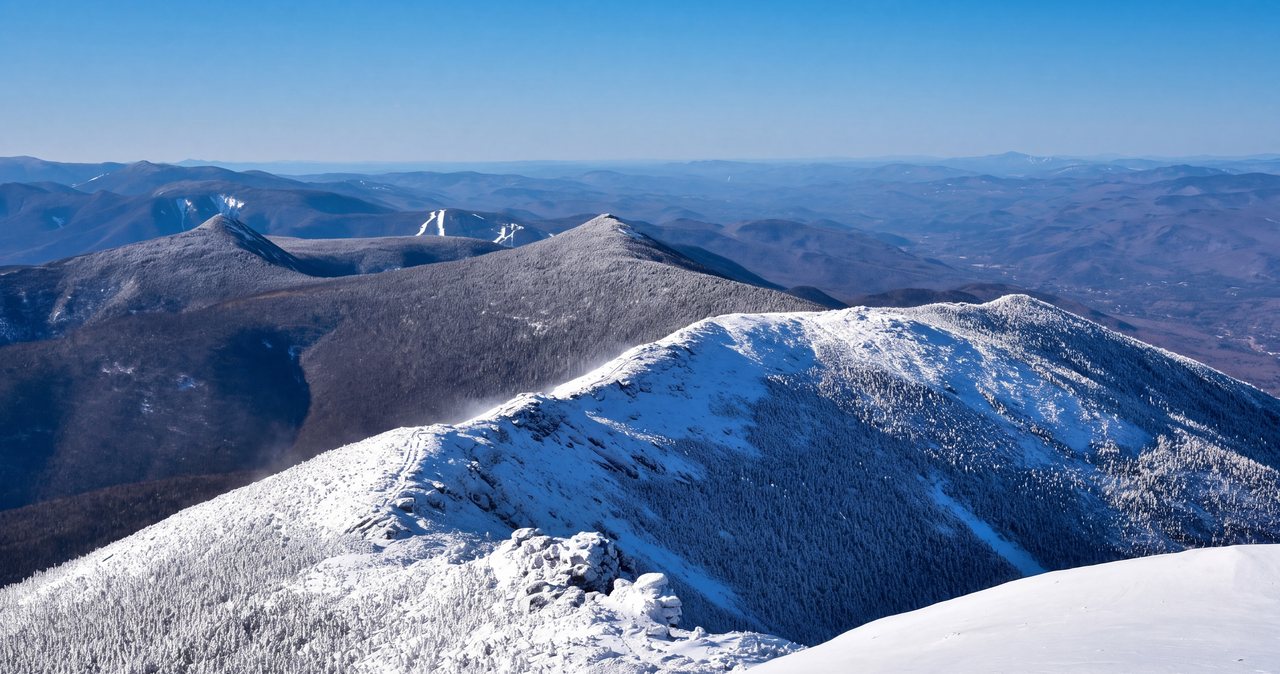
The Hancocks are the loop that people underestimate. The first three and a half miles are close to flat, an old logging grade that follows Hancock Notch, and it lulls you into thinking this is an easy day out. Then the trail turns straight up. The two loop arms that carry you over North Hancock and South Hancock are among the steepest sustained grades on any of New Hampshire's 48 four-thousand-footers, and they are where the day is won or lost, especially when the rock is wet or holding ice. Round trip is about 9.8 miles with roughly 2,650 feet of climbing, and both true summits sit in the trees, so you come for the walk and a couple of short outlook ledges, not for an open ridge.
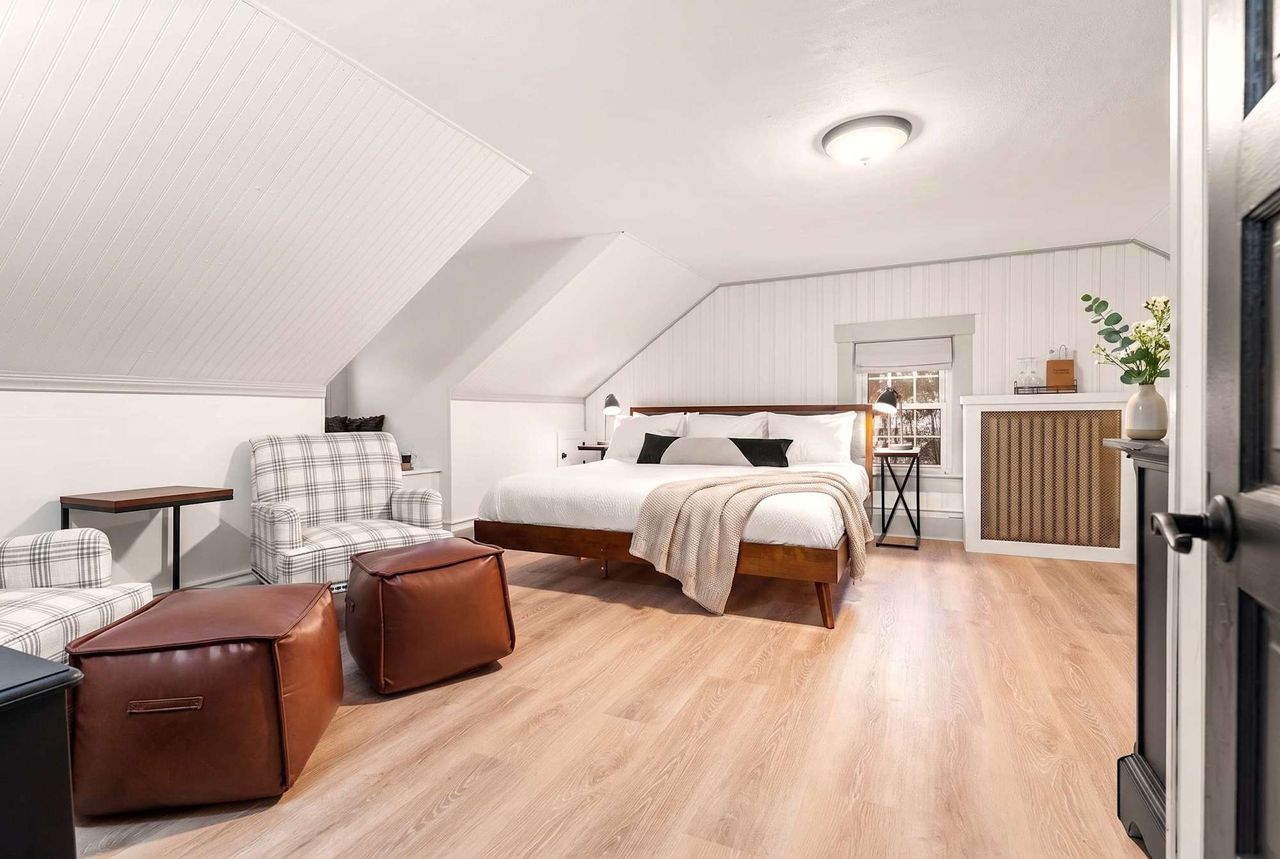
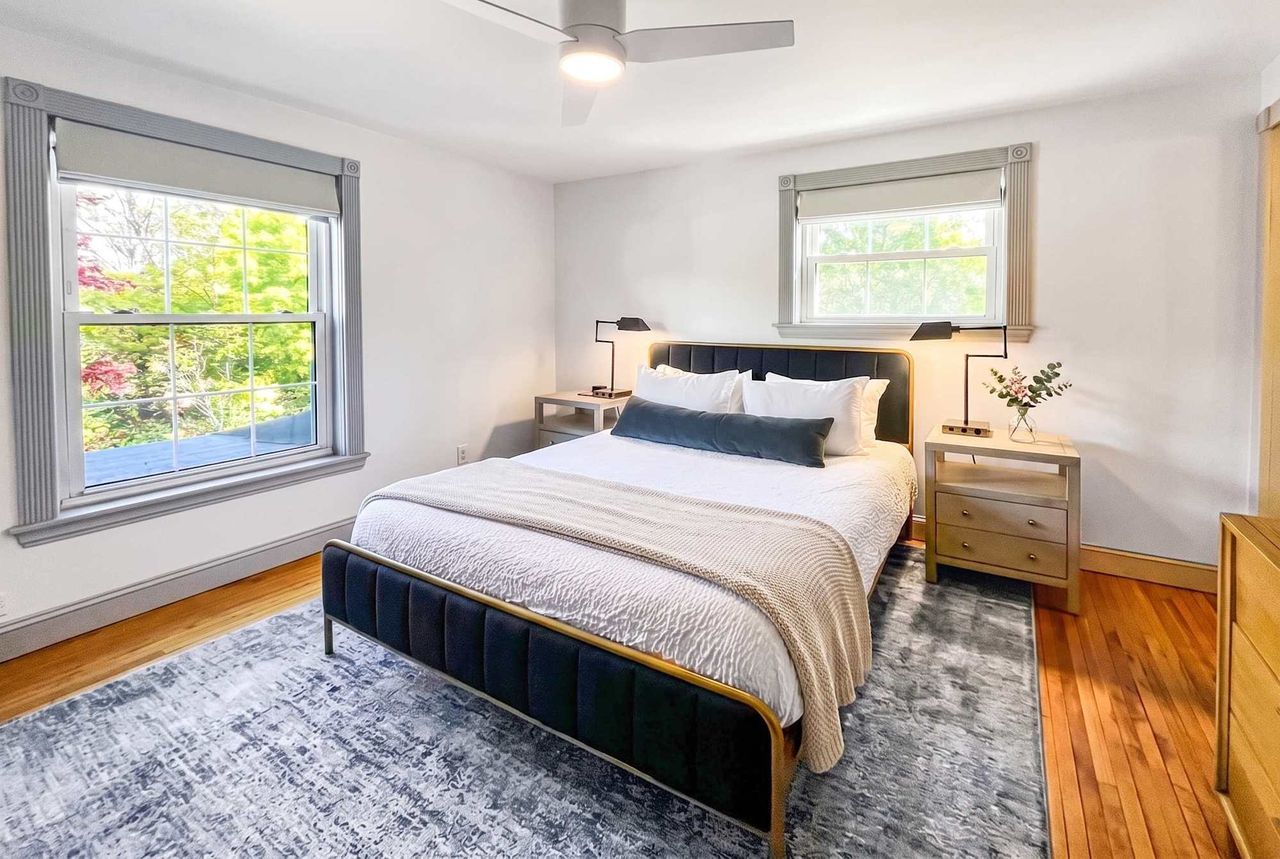
This is a Kancamagus hike, and that shapes the whole day. The trailhead is an overlook lot at the tip of a blind hairpin turn about 10.5 miles east of Lincoln, and there is nothing out there: no gas, no store, no restroom, and no reliable cell signal. You drive up, you park at a sharp corner where the sightlines are poor, and you cross the highway to start walking. The Hancock suite at the lodge takes its name from these two peaks, and the trailhead is only about 25 min from our door.
We wrote this to be straighter with you than the app on your phone. Below is the parking, when the water crossings need extra care, which arm to climb and why, what monorail season means in spring, and when to turn around. None of it is meant to talk you out of the hike - the Hancocks are a fair, achievable pair for a fit hiker who starts early. It is meant to get you back to the parking lot with good knees and a clear head, having stood on two plain summits on the edge of the Pemigewasset Wilderness.
The short version, and who this hike suits
The route is a lollipop. You walk in on nearly level trail, do a loop over the two peaks, and walk back out the same flat stretch. From the hairpin, the Hancock Notch Trail runs a bit under two miles on an old grade, then you turn onto the Cedar Brook Trail for a short distance, then onto the Hancock Loop Trail, which brings you to the loop split. From there one steep arm climbs North Hancock, a wooded ridge connects the two summits, and a second steep arm drops off South Hancock back to the split. Add it up and it is close to 9.8 miles for the pair. Published segment mileages wander a little source to source, so treat the pieces as approximate and the 9.8-mile total as the working figure.
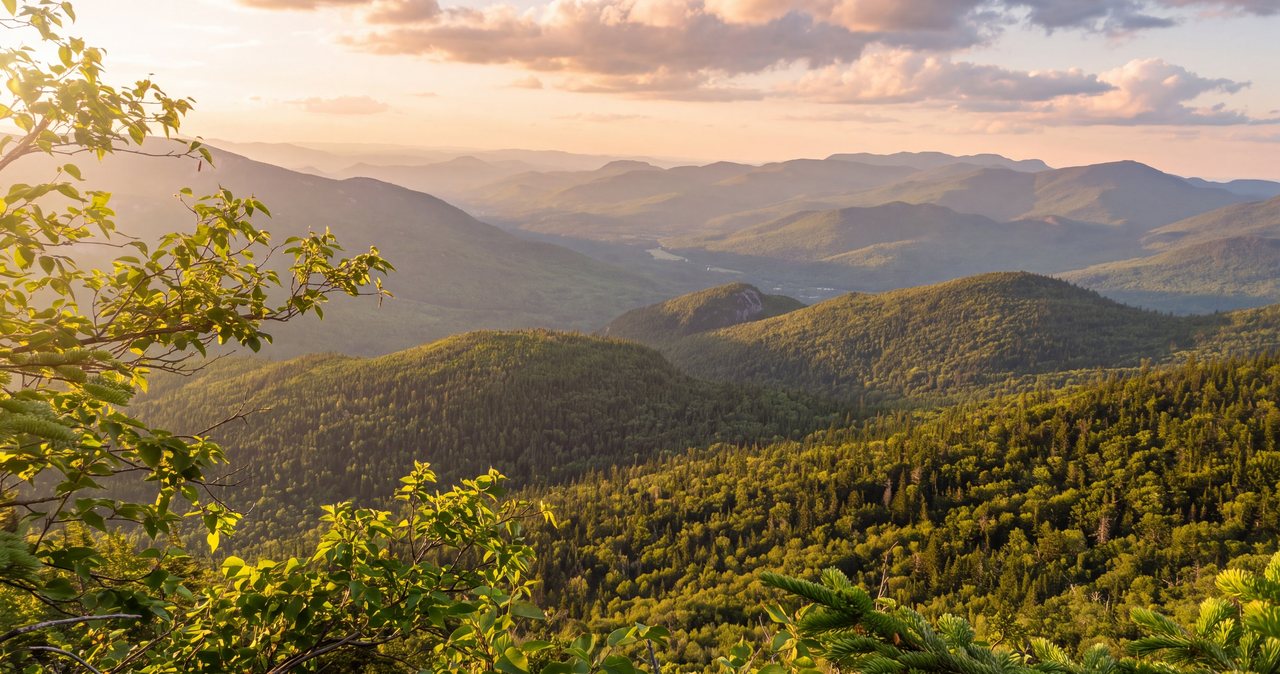
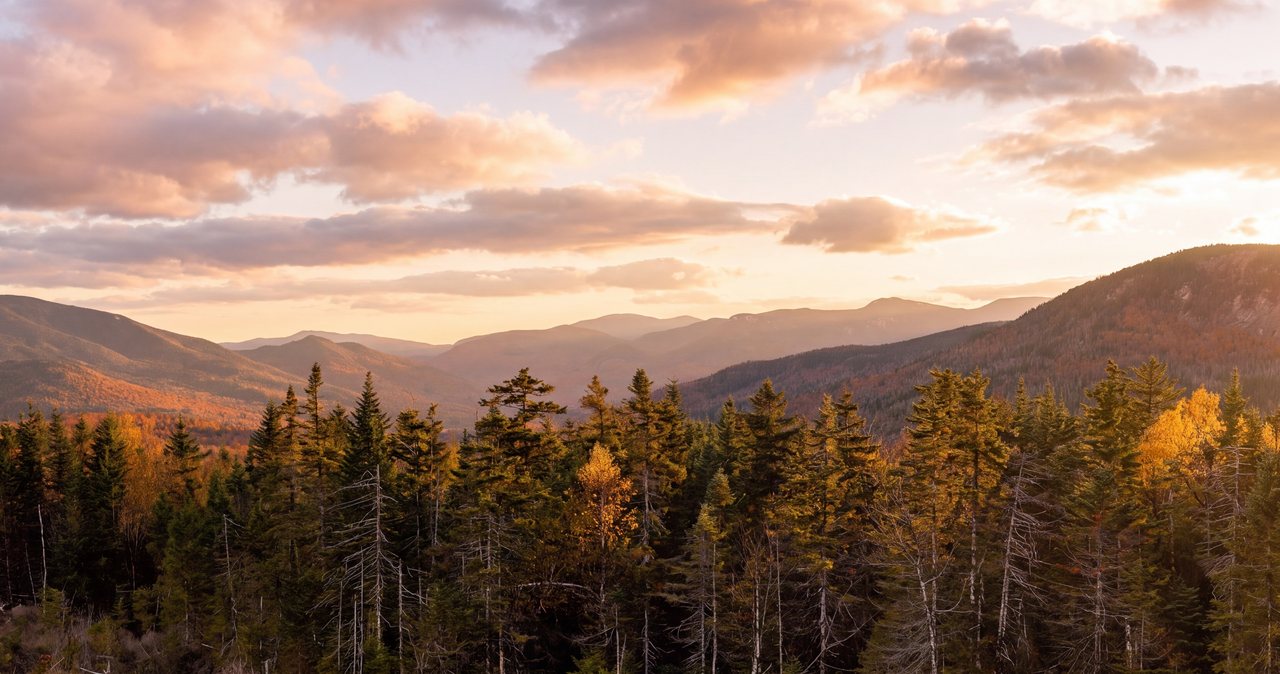
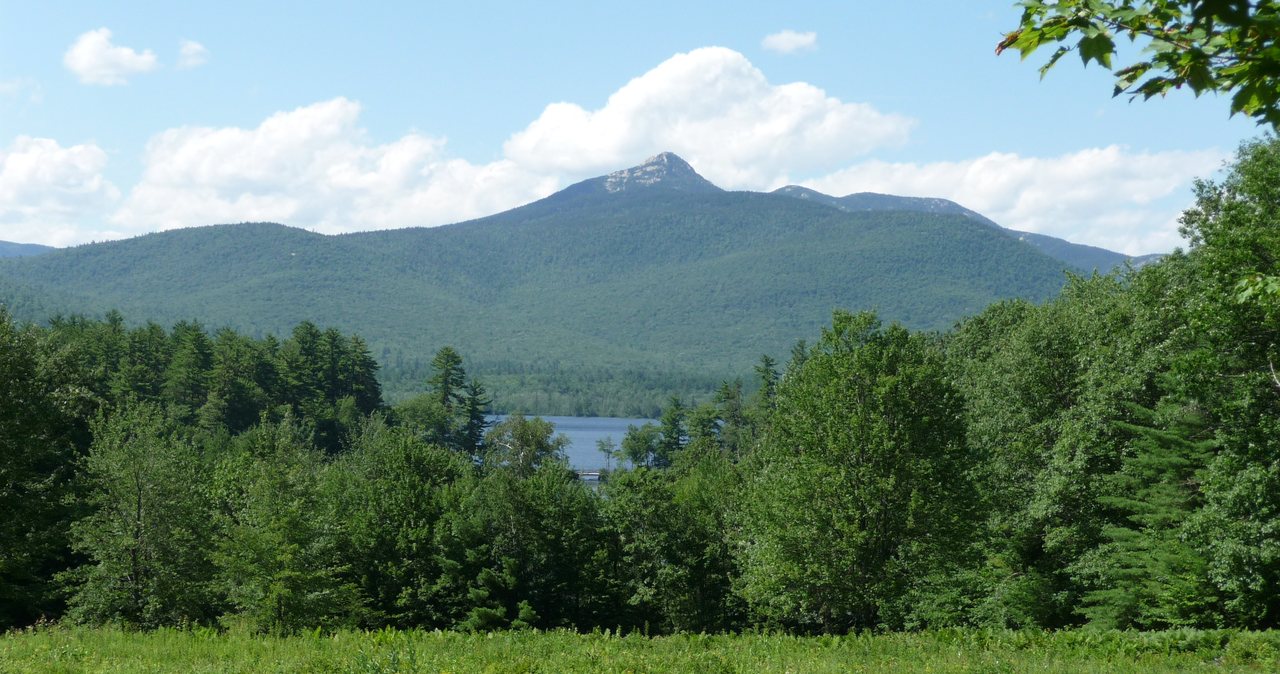
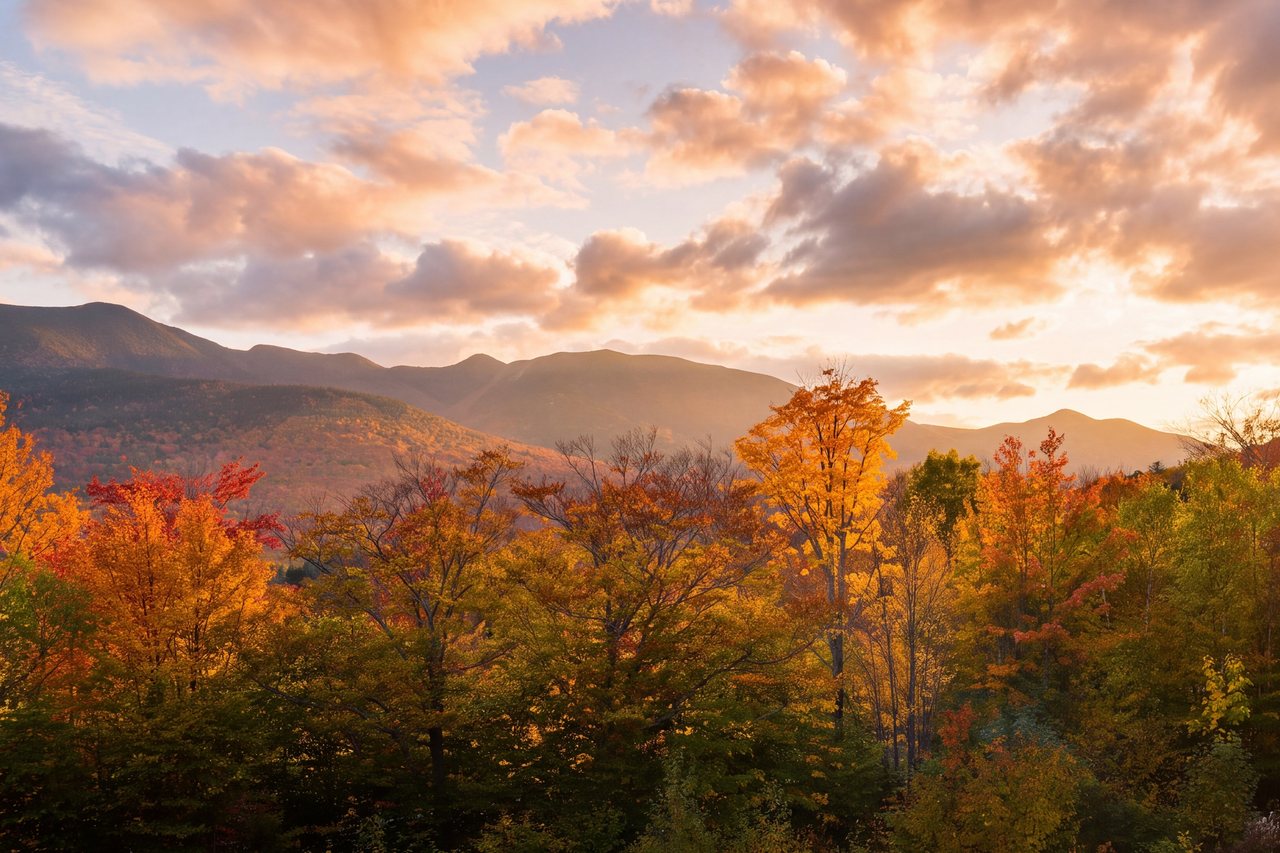
Be clear-eyed about the character of this hike. It is not a view walk. Both true summits are wooded high points marked by small signs, and the only real looking-out happens at two short outlook ledges, one near each top. What the Hancocks give you instead is a long, quiet walk in deep woods on the southern edge of the Pemigewasset Wilderness and two earned summits. If you need a big open ridge with the world falling away on both sides, this is not that day - Franconia Ridge is. If you want a satisfying woods-and-legs climb with a couple of good perches, this is a fine one.
Most parties take somewhere between six and eight hours car to car, moving steadily with normal breaks. It is a moderate distance made strenuous by the two arms, which are relentless but not technical: no exposed scrambling, no hands-on rock climbing, just a very steep, rough, eroded footpath. A fit hiker who is comfortable on steep ground will find it a good full day. It is a big first four-thousand-footer for someone brand new to this, mostly because of the grade and the length together, but plenty of people do make it their first if they are in shape and start early.
So arrive with the right expectation. This is a hike where the effort and the scenery are not evenly matched - you do the great majority of the climbing in about a mile and a half of trail, and you spend the rest of the day walking quiet forest to get there and back. Some people love that quiet, uncrowded character; others find the wooded summits an anticlimax. Knowing which you are before you drive up is half of enjoying it.
The numbers, and why your sources disagree
Round-trip distance runs about 9.8 miles for both summits. If you have the appetite for only one, North Hancock alone shaves off the ridge and the south arm, but almost everyone does the pair, since you have already walked the long flat miles to reach the loop. Total elevation gain is about 2,650 feet by the AMC White Mountain Guide's reckoning. Do not be surprised if your GPS watch reads higher, commonly 2,700 to 2,900 feet, because the ridge rolls up and down between the summits and watches tend to add up every small rise. Either way, almost all of the climbing is packed into the two arms; the long approach barely gains anything.
The summit elevations are worth a word, because you will see different numbers depending on where you look. The Appalachian Mountain Club's official four-thousand-footer list, which is the one hikers use, puts North Hancock at 4,420 feet and South Hancock at 4,319 feet. For the purpose of your day, North Hancock is the higher of the two by about a hundred feet, and both clear the 4,000-foot bar comfortably.
The trailhead sits at roughly 2,100 feet, so the raw difference between the parking lot and North Hancock is a bit over 2,300 feet. The reason the guidebook gain is larger is that loop: you climb one arm, give some height back crossing to the other summit, and climb again. That matters for pacing. Do not budget your energy as if it were a straight 2,300-foot climb; budget it for the full 2,650-plus with two steep pushes, and keep something in the tank for the descent, which is where tired legs get hurt.
One number that is not soft is the north arm. It gains on the order of 1,100 feet in roughly seven-tenths of a mile, and that single statistic tells you most of what you need to know about this hike. That is a very steep pitch by any standard, and it is the reason a modest-sounding 9.8-mile day earns a strenuous rating. When you read the mileage and think this looks easy, remember that a fifth of the distance holds nearly half the climb.
The hairpin: a blind corner and a lot that fills
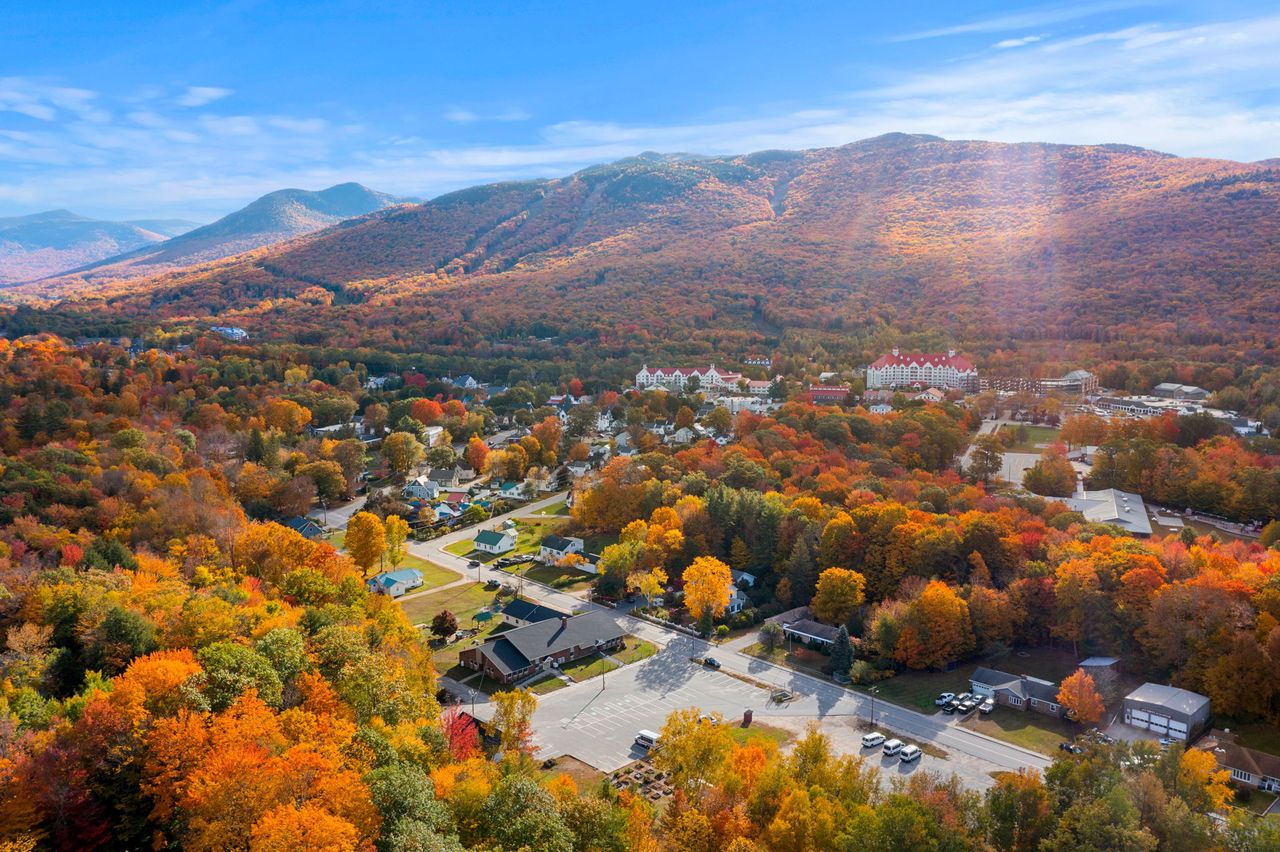
The trailhead parking is the overlook lot right at the tip of the Kancamagus's famous hairpin turn, sometimes signed as the Hancock Overlook, about 10.5 miles east of Interstate 93's Exit 32. It is a real hairpin, a tight bend where the highway doubles back on itself, and the lot sits on the outside of the curve. Cars come around it faster than they should, and sightlines are short in both directions. Signal early, slow well before the turn, and pull in with care. When you leave at the end of the day, easing back onto the highway means merging into a blind corner, so wait for a clear gap and do not assume an approaching car can see you.
The trail starts across the highway from the lot, so at some point you will cross the Kancamagus on foot at a bend with poor sightlines. Treat it like the small hazard it is: look both ways twice, cross as a group, and do not linger in the road for a photo of the notch. It sounds obvious. People still get surprised by a car coming around the bend, and you will be doing it twice - fresh in the morning and tired in the afternoon.
The lot is not huge, and it fills on peak summer and fall weekends, especially during foliage in late September and early October, when the whole Kancamagus is thick with leaf traffic. Get there early, ideally not long after first light, to be sure of a spot and to give yourself margin on the clock. If the lot is full, pass on the highway shoulder at the curve; that bend is no place for a parked car, and you could come back to a ticket or a tow. There is no restroom, no water, and no trash at the trailhead, so take care of things in town and plan to pack out everything you bring in.
You need a White Mountain National Forest parking pass on the dash. In 2026 that runs about $5 for the day, good the day of purchase, or $30 for an annual pass, $40 for an annual household pass. The federal America the Beautiful interagency pass, $80 a year, also covers it if you already carry one. A self-service pass is usually available at the lot, but it is simpler to buy one ahead in town, and these lots do get checked. Prices change over time, so confirm the current fee with the White Mountain National Forest if you want to be exact.
The flat approach: Hancock Notch and Cedar Brook
The first stretch is the easiest walking of the day and the reason people misjudge the Hancocks. The Hancock Notch Trail follows an old logging grade, wide and gentle, and you can move fast on it. Expect some mud, a few wet spots, and short lengths of bog bridging in the low places. It is pretty, quiet forest, and it goes by quickly because it barely climbs. On fresh legs you will cover it faster than you expect, which is exactly the trap.
After the better part of two miles you turn left onto the Cedar Brook Trail. This is where the water crossings start and where the day begins to feel more like a mountain and less like a rail bed. The Cedar Brook section is short before you reach the Hancock Loop Trail, and the Loop Trail then runs a modest distance to the actual loop split, where the day's real work begins. The exact tenths of a mile on these connectors vary from map to map, so watch for the trail-junction signs rather than counting on your odometer.
The thing to guard against on this approach is your own pace and confidence. Three and a half easy miles will convince you that you are having a relaxed day, and then the trail stands up on end. Hikers who blow through the flat miles fast often arrive at the loop split with less in their legs and less on the clock than they think. Walk the approach at a sustainable pace, keep eating and drinking, and note the time when you reach the split. That number is what you will measure your turnaround against later.
One more practical note: it is remote back here, on the southern edge of the Pemigewasset Wilderness. You are walking away from the road with every step, and there is no cell service to bail you out. That is not a reason to be nervous, but it is a reason to have told someone your plan and to be carrying a real map, which we come back to at the end. Enjoy the easy miles, but respect that they are also miles you have to walk back at the tired end of a long day.
The water crossings, and when they are a hard no
The Cedar Brook Trail and the lower Hancock Loop cross running water several times, on the North Fork and its feeders. In normal summer flow these are rock-hops. You pick your way across on stones, maybe get a boot wet, and think nothing of it. Trekking poles make them easier and save a lot of wobbling, and they are the first place your poles earn their keep.
After heavy rain, or during the spring snowmelt from roughly April into May, those same crossings change character completely. The brook comes up, the current picks up, and the rocks you would normally hop go underwater or turn greasy. A crossing that is a non-event in August can be knee-deep and pushy in a wet spring, and that is a genuine hazard, not an inconvenience. Fast-moving water above the knee can knock you off your feet, so if a crossing looks high, turning back for a drier day is the easy call.
The plain rule is simple: if a crossing looks too strong to walk through comfortably, do not force it. Turn around. The Hancocks will still be there next weekend. Never cross fast water that is above your knees, unclip your pack's hip belt before you cross anything questionable so you can shed the pack if you go in, and if you are with a group, cross one at a time and spot each other. Check the recent weather before you come; a big rain a day or two earlier can leave the brooks running high even under a blue sky.
In winter the crossings hide under snow and ice, which sounds easier and sometimes is. But moving water undercuts snow bridges and opens holes you cannot always see. Test before you trust a snow bridge over a brook, especially in early winter before things are fully frozen and again in the spring thaw when the bridges rot from below. Poles to probe, and a willingness to walk the bank to find a better spot rather than punch through, keep this from becoming the day's problem.
The loop split: which arm to climb first
At the loop split the trail forks. The left, or north, arm climbs directly and steeply to North Hancock. The right, or south, arm climbs to South Hancock. The two summits are joined by the ridge, so whichever you climb first, you come back over the other and down the far arm, closing the loop. There is a sign here; take a minute to read it and to eat something before you start up.
The common wisdom, and the way most people go, is to hike up the north arm to North Hancock first, then traverse the ridge south to South Hancock, then descend the south arm. The reason is footing and safety. The north arm is the steeper, more eroded of the two, and steep, loose ground is easier and safer to climb than to descend. Going up the worst grade and saving the slightly gentler arm for the way down means less slipping, less strain on your knees, and less chance of a fall when you are tired, especially if the trail is wet or holding ice.
You can do it the other way, and it still works, but there is no strong reason to descend the steepest arm on purpose. Unless you have a specific reason, go up the north arm. Whichever direction you pick, understand what you are signing up for: you are going up one steep wall and down another, with a pleasant wooded ridge in between as your reward for the first climb.
One practical caution at the split and on the arms: the Hancock Loop Trail is a lightly built footpath, not a graded staircase, and in a few spots the loose surface and the close trees can make the exact line briefly unclear, more so under snow. Pay attention to where the worn tread goes, look for the next obvious sign of foot traffic, and if you lose it, stop and find it again rather than pushing uphill on a guess. This is not a place to be bushwhacking by accident.
North Hancock's arm: the wall
The north arm is the piece of this hike people remember. In roughly seven-tenths of a mile it gains on the order of 1,100 feet, which makes it one of the steepest sustained climbs on any of the 48. There is no trick to it and no shortcut. It is a straight, hard, relentless grade on loose gravel, roots, and eroded dirt, the kind of pitch where you are often reaching down to your own knees. It goes on long enough to become a mental exercise as much as a physical one.
Climb it slow and small. Short steps, a steady rhythm, and frequent micro-pauses will get you up it in better shape than trying to power through in bursts. It is loose enough that you will slide back a little with some steps; that is normal, and it is exactly why this is the arm you want to be going up rather than down. Poles earn their keep here more than anywhere. Take your time and let faster people pass - this is not a place to hurry or to prove anything.
Near the top, watch for the short spur to the North Hancock outlook, a ledge with a genuine view to the south and southwest over the Osceolas, the Sandwich Range, and the valley the Kancamagus runs through. It is the best open view of the day and a fair place to catch your breath and eat. The true summit is a wooded high point with a small sign a short walk beyond the outlook, so tag it so you know you stood on it, then point yourself along the ridge toward South Hancock.
If the arm has beaten you and you are out of gas or out of time at the top of it, that is a legitimate place to make North Hancock your whole day and head back down the way you came, carefully. You will have climbed the hardest part and stood on a four-thousand-footer. There is no rule that says you must do both summits in one trip, and coming back for South Hancock another day is a great deal better than pushing on tired into a long afternoon on unfamiliar ground.
The ridge to South Hancock
After the north arm, the ridge is a relief. The Hancock Loop Trail runs a bit under a mile and a half from North Hancock to South Hancock through quiet, wooded high country. It rolls, dipping to a shallow col and rising again to the second summit, but nothing on it compares to the arm you just climbed. This is the stretch where the hike feels like a walk again and you get to enjoy being up high without gasping for it.
Expect soft footing in places, some mud, and the odd blowdown to step over, the ordinary furniture of a high woods trail. It stays in the trees the whole way, so it is a shaded, protected walk. That shelter is pleasant in summer heat, and it keeps this route comfortable in weather that would be rough on an open ridge - there is simply no exposed spine to catch the wind.
South Hancock's summit, like its neighbor, is a wooded high point with a sign. Just off it is the South Hancock outlook, a more limited perch than the north one, looking out to the east and southeast toward Mount Carrigain and the Sawyer River country. It is worth the few steps for a look and a snack. From here you have both summits done, and only the descent stands between you and the flat walk out.
Take a real break somewhere on this ridge if the weather allows. It is the calm middle of the day, you have earned it, and you want food and water in you before the descent, which demands more concentration than people expect. Check your watch here too. If you reached the ridge later than you hoped, this is a good moment to be candid about daylight and decide how much lingering you can afford.
Coming down the south arm, and the long flat out
From South Hancock the south arm drops back to the loop split in about half a mile, and the top of that descent is steep, loose, and slick - exactly the kind of ground where tired hikers roll ankles and sit down hard. The 4,000-footer descriptions warn that the first half mile down is very steep, and they are right. Slow down here even though you are tired and want to be done. Face into the hill on the worst bits, use your poles, and place each foot deliberately rather than trusting momentum.
This is statistically where injuries happen on a hike like this: near the end, going downhill, on rough ground, with tired legs and a lapse in focus. The summits are the goal, but the descent is the part that hurts people. Keep your attention on your feet until the grade eases at the bottom of the arm, and do not let the fact that you are almost back to easy ground make you careless on the steep part.
At the split you close the loop and rejoin the flat approach for the walk out, roughly three and a half miles back to the hairpin the way you came. On fresh legs this was quick; on tired ones it feels a good deal longer, and the easy grade tempts you to stop fueling. Keep sipping water and eating, keep a steady pace, and do not be surprised that the flat miles take real time at the end of a long day. When you reach the highway, cross it with the same care you did in the morning - you will be tired and the corner is still blind.
Give yourself a comfortable daylight cushion for this whole back half. Descending the south arm and walking out is no place to race the dark, since the steep top is slow going by headlamp and the flat miles feel long and easy to misread in the black woods. If you find yourself running late, the fix is earlier decisions higher up - a turnaround at North Hancock, a shorter break on the ridge - not hurrying the descent.
Weather, treeline, and the higher-summits forecast
Here is where the Hancocks differ from the postcard hikes, and where being clear helps you. This route does not put you above treeline. Both summits are wooded, the ridge is wooded, and the only open spots are the two short outlook ledges. You do not spend the day exposed to wind on a bare alpine ridge the way you would on Franconia Ridge or Mount Washington. That is why the Hancocks are a popular pick on marginal-weather days and in winter: the trees shelter you the whole way.
That does not mean weather is a non-issue. The tops are still over 4,300 feet, and it will be colder, windier, and wetter up there than at the car, sometimes by a lot. The outlook ledges are exposed enough to snatch a hat. In summer the weather to watch is afternoon thunderstorms; aim to be off the steep arms and heading down before they build, since wet rock on those grades gets slick and a bare ledge is no place to be with lightning around. Start early, watch the sky to the west, and be willing to skip the second summit to beat a storm.
Even though you are not above treeline, check the Mount Washington Observatory's Higher Summits Forecast before you go. It is written for the high peaks of the Whites and it is the best quick read on what the tops of the Hancocks will feel like - wind, temperature, and whether a front is moving in. Pair it with an ordinary valley forecast for the Lincoln and Kancamagus area to understand the spread between the two. If the higher-summits forecast is calling for a washout, freezing fog, or a fast-moving system, that tells you what your day will be, treeline or not.
The practical takeaway: do not let the sheltered reputation make you casual. Bring layers you can add at the summits and the outlooks, a shell for wind and rain, and the judgment to turn a two-summit day into a North-Hancock-only day, or a turnaround, if the sky says so. The mountains do not care that the guidebook called this an easy-weather hike.
Winter, ice on the arms, and monorail season
The Hancocks are one of the more popular winter four-thousand-footers, again because they are sheltered: you can bag two peaks on a cold, windy day without spending a minute above treeline. That popularity is real, but do not read it as easy. The steep arms that are merely hard in summer become the main hazard in winter, when they hold ice and hard-packed snow at a grade where a slip has consequences. The Kancamagus itself is plowed and open all winter, so getting to the trailhead is not the problem - the arms are.
Traction is not optional. Microspikes are the floor, and the steep arms often call for more aggressive traction - full crampons in icy conditions - to hold that grade safely. After a fresh snowfall you will want snowshoes for the packed approach and the trail generally, both to float on soft snow and to avoid ruining the trail by postholing. Which tools you carry depends on conditions that week, so check recent trip reports before you go and be ready to switch between spikes, crampons, and snowshoes during the day.
Spring brings the monorail. As the winter's packed-down trail hardens and the untrodden snow beside it melts and softens, the trail turns into a raised ridge of consolidated snow - a monorail - standing above a rotting, unsupportive snowpack on either side. Stay balanced on it and you make progress; step off it and you posthole to your hip or deeper, which is exhausting and slow. Late-season monorail, roughly April, is one of the more miserable and time-eating conditions in the Whites, and it is a good reason to start very early on a cold morning or to wait a few weeks for the snow to clear.
Winter also means short daylight, cold at the water crossings with the snow-bridge hazards already mentioned, and navigation that is harder than in summer, since the tread can be tough to follow under snow at the split and along the ridge. Carry and use a headlamp, start early, keep a real turnaround time, and do not count on breaking trail as fast as you would walk bare ground. A winter Hancock day is a serious undertaking despite the shelter, and it rewards people who came prepared and humble rather than casual because the drive was easy.
The hikeSafe card and telling someone your plan
Two New Hampshire specifics belong in your pocket on any 4,000-footer, and the Hancocks are no exception. First, New Hampshire can bill a hiker judged negligent for the cost of a rescue under RSA 206:26-bb, and a carry-out from deep in the Pemi Wilderness, which is where you would be, is neither quick nor cheap. The voluntary hikeSafe card removes that liability short of true recklessness and funds the rescue teams directly. It is $25 for an individual or $35 for a family for 2026, sold through New Hampshire Fish and Game, valid January through December, the same price for residents and visitors. Confirm the current price when you buy, but it is a sensible thing to have the night before any hike in these mountains.
Second, do not let your phone be your safety plan. Cell coverage is patchy to nonexistent along the Kancamagus out to the hairpin and on the trail, so anything that depends on a signal - live maps, a weather check, a call for help - may simply not work when you need it. Download your maps before you leave the driveway, carry a real map and compass or a GPS unit you know how to use, and leave your route and your expected out-time with a person who will notice if you do not come back.
We ask our hiking guests to do exactly this, and we mean it. Someone at home who knows you went up the Hancock Loop from the Kancamagus hairpin and expected to be down by a certain hour is worth more than anything in your pack if something goes sideways. Leave your plan with someone at home, and update them if you decide on a single summit, so nobody raises an alarm over a hiker who simply made a smart, shorter day of it.
The last piece is the one that keeps people out of trouble on every mountain around here: turning around is free, and the summits are not going anywhere. Skipping South Hancock because a storm is building, or turning back at a swollen brook crossing, costs you nothing but a return trip on a road that is 25 min from our porch. There is no achievement out here worth getting hurt for. Buy the card, tell someone your plan, and give yourself full permission to turn around.
A realistic day plan, what to carry, and who this hike is for
Here is roughly how the day breaks down, so you can plan backward from daylight. Figure about 25 min to drive from the lodge to the hairpin. Give the flat approach to the loop split around an hour and a half to two hours at a steady pace. The north arm to North Hancock is a slow 45 min to an hour or more for most people because of the grade. The ridge to South Hancock is another 45 min to an hour. The descent of the south arm and the long flat walk out together run in the neighborhood of two to three hours, more if your legs are cooked. Add breaks and you land in the six-to-eight-hour range car to car. In the shoulder seasons and winter, add a cushion for slower footing and shorter days, and start correspondingly earlier.
On busy summer and fall weekends, aim to be parked close to first light, both for the small lot on that blind corner and for the clock. On a quiet weekday you have more latitude, but earlier is always the safer play in these mountains, because it buys you time against weather and against your own slower-than-expected pace on the arms. Being only about 25 min away in Lincoln is a real advantage - you can be lacing up while hikers from farther south are still on the highway.
For gear, wear sturdy boots with real tread; the loose arms punish worn-out soles, going up and coming down. Trekking poles are close to essential here, on the steep climb and even more on the steep descent and the brook crossings. Carry two to three liters of water in summer heat, since there is none on the ridge and the brooks are all down low on the approach; a small filter lets you top off at a crossing early if you run short. Bring salty, easy snacks and eat before you are hungry. Pack a wind-and-rain shell and an insulating layer for the summits and outlooks, a headlamp even on a day hike, a small first-aid kit, and the map and compass already mentioned. In the cold months add your traction and snowshoes as conditions demand.
So who is this hike for? A fit hiker who wants two more four-thousand-footers, does not mind wooded summits, and respects a very steep pitch will have a good, quiet day here - it is one of the less crowded pairs on the 48 and it has a peaceful, deep-woods feel. It is a stretch for a brand-new hiker, doable if you are in shape and start early, but not the gentlest introduction to the list. And a short list of habits that make the day go well: treat the flat first miles as a warm-up, not a preview; carry a map rather than relying on your phone; turn back from a high water crossing; leave plenty of daylight for the descent; and set your turnaround time before you start. Get those right and the Hancocks give you a fair, rewarding pair of summits and a walk out with your knees intact.
Safety & conditions
- The two loop arms, not altitude, are what to plan around on this hike. They are among the steepest sustained grades on the 48 - the north arm gains about 1,100 feet in roughly seven-tenths of a mile - and they are loose, eroded, and slick when wet or iced. Climb the steeper north arm and descend the south arm, slow down on the steep descent where tired hikers roll ankles, use poles, and keep something in reserve for the way down.
- Take the water crossings seriously after rain or during spring snowmelt. The crossings on the Cedar Brook Trail and lower loop (the North Fork) are easy rock-hops in normal summer flow but can run knee-deep and fast in a wet spring. Never cross fast water above your knees, unclip your hip belt before a questionable crossing, cross one at a time, and turn around rather than force a crossing that looks too strong - the peaks will still be there next weekend.
- This route stays below treeline, so it lacks the open alpine exposure of Franconia Ridge - which is exactly why it is a common foul-weather and winter pick - but weather still matters. The tops are over 4,300 feet and run colder and windier than the valley, and the outlook ledges are exposed. Check the Mount Washington Observatory Higher Summits Forecast plus a valley forecast for Lincoln before you go, and in summer be off the steep arms before afternoon thunderstorms build.
- In winter, traction and flotation are not optional. Microspikes are the minimum, the steep arms often need full crampons in icy conditions, and snowshoes are needed for the packed approach after snow to float and to avoid postholing. In spring watch for monorail, the raised ridge of hard snow that drops you hip-deep if you step off it. Days are short - carry a headlamp, start early, and do not count on breaking trail as fast as you would walk bare ground.
- Set a hard turnaround time at the loop split and honor it. The flat approach lulls you, and the arms and any high water eat the clock faster than you expect. Making North Hancock your whole day, or turning back at a swollen brook, is a sound decision, not a failure. A twisted ankle three and a half miles from the road at dusk is a genuine emergency, and almost all of those are avoided by an earlier decision higher up.
- Plan for no cell service. There is essentially none on the Kancamagus to the hairpin or on the trail, so download maps in advance, carry a paper map and compass or a GPS you know how to use, and leave your route and out-time with someone who will notice if you do not return. The tread can be briefly unclear at the split and on the ridge, more so under snow, so be able to find it again rather than pushing uphill on a guess.
- Carry the voluntary hikeSafe card from New Hampshire Fish and Game ($25 individual, $35 family for 2026). Under NH RSA 206:26-bb the state can bill hikers judged negligent for a rescue, and a carry-out from this far into the Pemi Wilderness is neither quick nor cheap; the card waives that cost short of true recklessness and helps fund the rescue teams. Even setting the money aside, hike so the volunteers who would come for you never have to.
- Mind the trailhead itself. The Hancock Overlook lot sits on the outside of a blind hairpin, and the trail starts across the highway, so pull in and out slowly, signal early, and cross the road on foot with care both morning and afternoon. There is no water, restroom, or trash at the lot - carry enough water (two to three liters in summer, since there is none on the ridge) and pack out everything you bring, including food scraps, so these wooded summits stay pleasant.
Where to stay for it
From 191 Pollard Road it is a short hop to the start of the Kancamagus Highway - down to Main Street and east onto NH Route 112, the Kancamagus - and then about 10.5 miles up the highway to the hairpin turn. Call it 25 min, a little longer in foliage season when leaf traffic slows the Kanc to a crawl. Unlike several of the trailheads around here, there is no seasonal gate to worry about: the Kancamagus is plowed and open year-round, though it can close briefly in a big storm. The parking is the overlook lot right at the tip of the hairpin, on the outside of the bend, and the trail starts across the road - so signal early, pull in slow, and give yourself the same care crossing on foot and easing back out at the end of the day.
Provision in Lincoln before you turn up the highway, because there is nothing out there - no gas, no store, no restroom, and no cell signal - for the whole ten-mile run to the trailhead. The grocery store and the gas stations in town are your last stop for sandwiches, extra water, and a full tank; do it the evening before if you want an early parking spot, which on a summer or foliage weekend matters at this small lot on a blind corner. Buy your White Mountain National Forest parking pass in town too if you would rather not use the self-service machine at the trailhead, download your map while you still have a signal, and leave your route and your out-time with someone at home.
Sources & official info: 4000footers.com · fs.usda.gov · outdoors.org · mountwashington.org · hikesafe.com
— Launchpoint Lodge, From the lodge